Kitchens
How to Plan a Kitchen Island for Flow, Seating, and Storage
A practical Massachusetts guide to balancing kitchen island circulation, comfortable seating, useful storage, and daily routines.
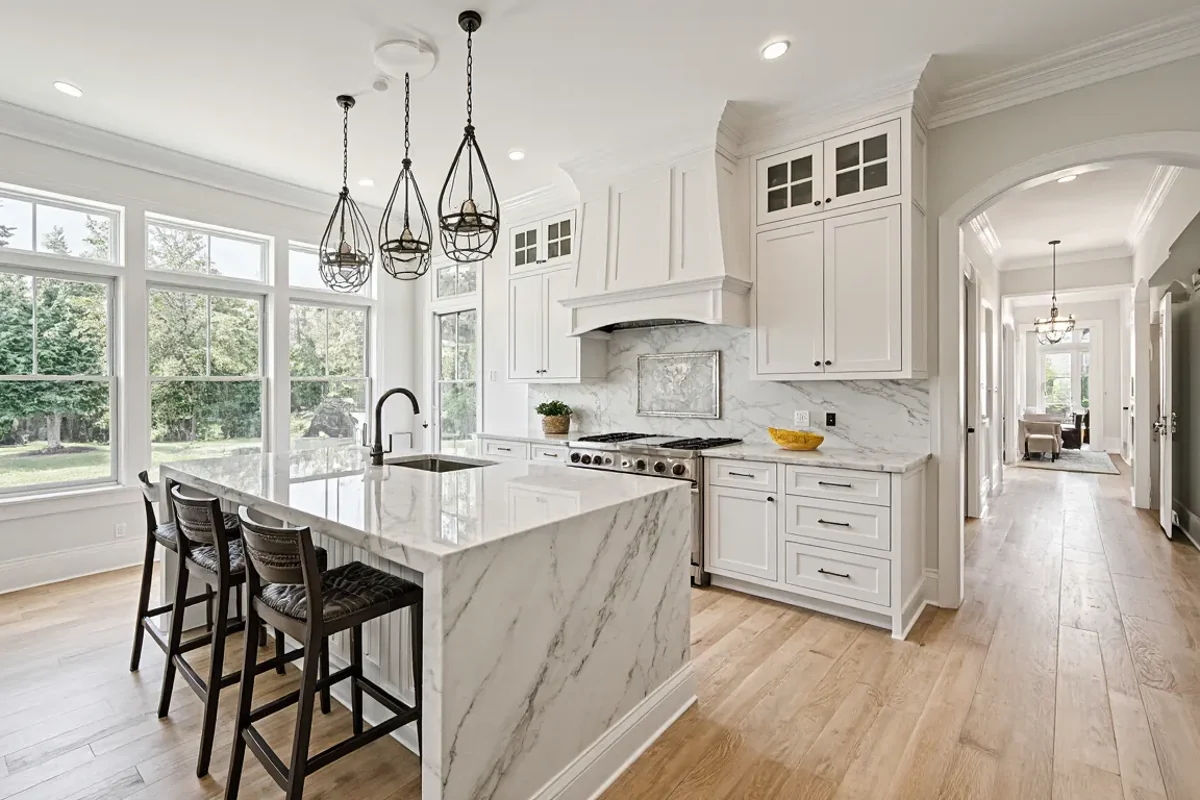
A successful kitchen island starts with household routines and available floor space rather than a preferred shape or finish. Use this guide to evaluate circulation, seating, storage, work zones, and priorities before discussing the design with a qualified project professional.
Decide What the Island Must Accomplish
Begin by listing the activities the island should support in order of importance. Possible roles include meal preparation, casual dining, homework, entertaining, serving, food storage, or cleanup. Ranking these functions helps prevent an island from becoming overloaded with competing features that do not work comfortably together.
Consider who uses the kitchen, when they use it, and whether several activities happen at once. A household that cooks together may value uninterrupted preparation space, while a household with children may prioritize visible seating near the main work area. Frequent hosts might prefer a broad serving surface that keeps guests outside busy cooking zones.
Write one sentence describing the island’s primary purpose and two secondary purposes. When later decisions create conflicts, return to that statement. If additional seating would reduce essential cabinet storage, for example, the written priorities make the tradeoff easier to evaluate instead of allowing appearance alone to determine the answer.
Evaluate Circulation Before Choosing the Island Size
An island should fit the room’s movement patterns, not simply occupy available floor area. Trace the routes between entrances, exterior doors, dining areas, major appliances, and frequently used cabinets. Pay particular attention to places where someone standing at the island could intersect with another person carrying groceries, opening an appliance, or passing through the kitchen.
Test the proposed footprint with removable tape or a temporary cardboard outline. Then walk through typical routines, including unloading groceries, preparing breakfast, clearing dishes, and moving between the kitchen and adjacent rooms. Open nearby drawers and doors during the test so the exercise reflects actual use rather than an empty-room impression.
Homes in Newburyport, Newton, Wellesley, Boxford, West Newbury, and Danvers can have very different kitchen footprints, additions, and connections to surrounding rooms. A larger island is not automatically more useful. Ask a qualified project professional to assess clearances, door conflicts, and technical constraints before the footprint is finalized.
Plan Seating Around Real Household Habits
Determine whether island seating will serve quick meals, longer conversations, children’s activities, entertaining, or occasional overflow. The intended use affects how much surface should remain open and whether seats belong along one side, around a corner, or in another arrangement. Also consider whether seated people will face a wall, the cooking area, or one another.
Count regular users rather than planning around the largest gathering imaginable. Seating for rare events can consume cabinet space and make everyday circulation less comfortable. Ask where bags, laptops, serving dishes, and place settings will go, and whether people can sit without blocking a primary route or interfering with someone working nearby.
Hypothetical example: A family of four may initially request four seats in one row. After testing the layout, they may find that three everyday seats plus a nearby dining chair for occasional use preserves a clearer walkway and provides room for an additional cabinet. The right choice depends on the family’s stated priorities and available space.
Match Storage to Items and Access
Plan island storage by naming what will live there. Make an inventory of mixing bowls, small appliances, food containers, serving pieces, baking supplies, recycling needs, or children’s dishes. Assigning items to specific zones produces more useful cabinets than selecting a collection of drawers and doors without a storage plan.
Think about which side should provide access. Preparation tools may belong on the side facing the main work area, while table linens or serving pieces could be reached from the dining side. Seating can limit access to cabinets, so decide whether storage behind stools will hold rarely used items or whether another arrangement would be more practical.
Compare deep drawers, shelves, narrow compartments, and open display areas according to the objects they must hold and how often those objects are used. Custom cabinets can address unusual collections or room conditions, but every specialized feature uses space and adds design complexity. Prioritize solutions that improve frequent routines over features with only occasional value.
Coordinate the Work Surface and Visual Design
Decide how much of the island surface must remain uninterrupted. Sinks, appliances, raised areas, and other features divide the workspace and influence where people prepare food, set down groceries, or serve meals. Technical placement and connections should be reviewed by qualified project professionals, while the homeowner’s role is to explain the desired activities and priorities clearly.
Consider how the island relates to surrounding cabinets without assuming everything must match. It can repeat the room’s finish for a quieter effect or use a contrasting color or material as a focal point. Evaluate samples in the kitchen at different times of day, alongside flooring, wall colors, cabinet finishes, and nearby furnishings.
Review edge details, visible cabinet ends, seating supports, and the view from adjoining spaces. These elements can affect comfort and visual balance as much as the main finish. When comparing options, ask whether each decorative choice supports the island’s primary function or makes cleaning, access, or future flexibility less convenient.
Prepare a Clear Island Planning Brief
Before a remodeling discussion, photograph the kitchen from each entrance and note the locations where congestion occurs. Measure the room for preliminary planning, but treat homeowner measurements as reference information rather than final specifications. Create separate lists for essential features, preferred features, and ideas that can be removed if the layout becomes crowded.
Gather examples that show specific qualities instead of collecting only complete dream kitchens. Label what you like about each image, such as seating orientation, drawer organization, finish contrast, or an open work surface. Also record dislikes. Clear reactions help a project professional understand priorities without assuming every detail in an inspiration image should be reproduced.
Finish by documenting the island’s primary purpose, expected number of daily seats, items requiring storage, common walking routes, and activities that happen simultaneously. Bring the taped-footprint observations and any concerns about adjacent doors, windows, flooring, or cabinets. This preparation creates a practical basis for evaluating layout alternatives and making focused design decisions.